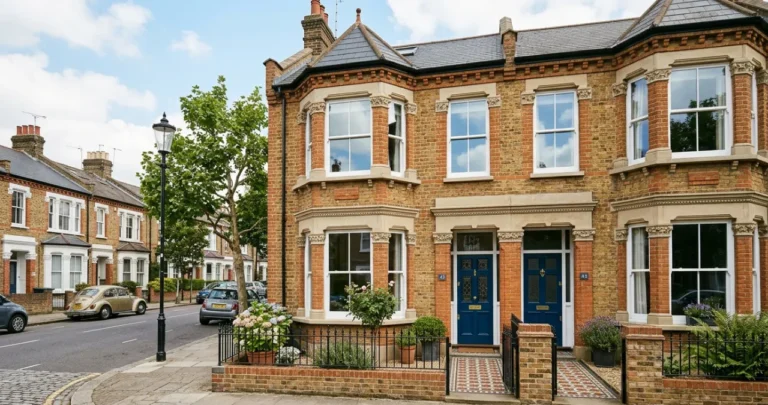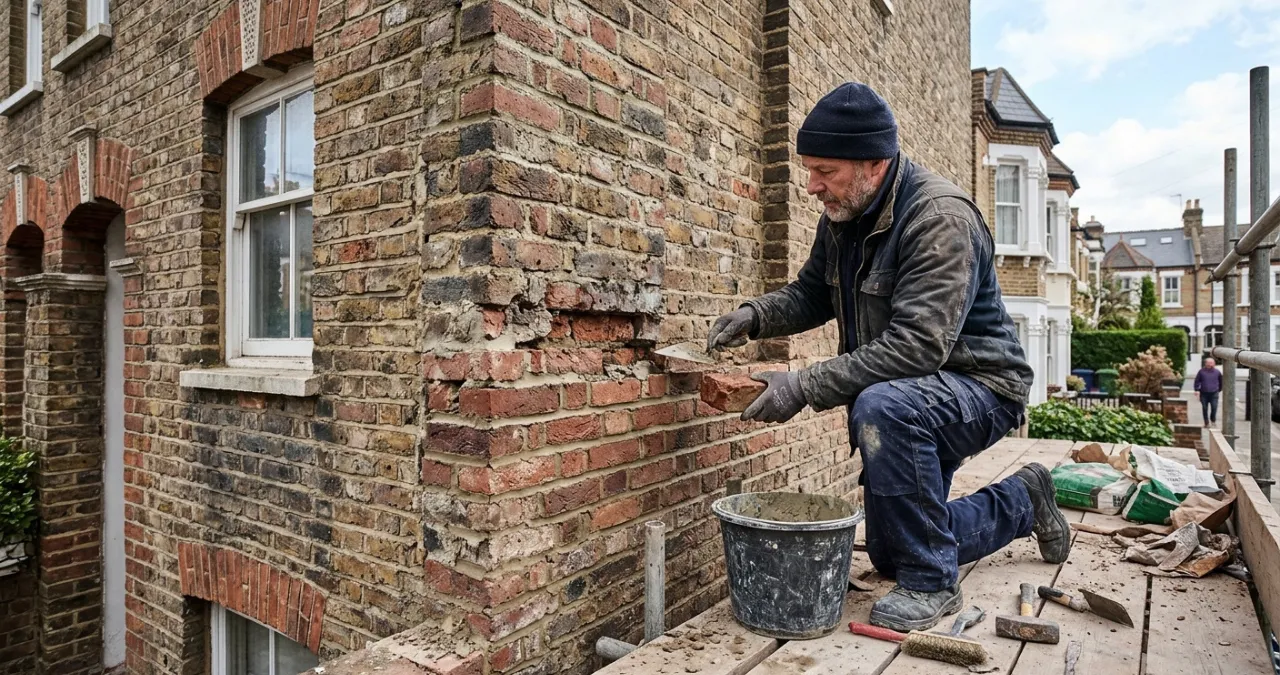
A full brickwork restoration is more than a clean. On a Victorian or Edwardian house, it often means stripping old coatings, cleaning, repairing bricks and repointing, all on the same wall. Each job affects the next, so the order matters as much as the methods. This guide walks through how contractors bring old brickwork back, step by step. It also covers the choices that decide whether the work lasts.
The Golden Rule: Repair, Don’t Replace
Good restoration keeps as much of the original wall as it can. Old London stock brick has a colour and texture that new brick can’t copy exactly. Every brick you keep is one less to match.
This means doing the least work that solves the problem. Clean only as hard as the dirt needs. Rake out only the joints that have failed. Replace only the bricks that are beyond saving. The result looks right because most of it is still the original.
Step 1: Survey the Wall
Restoration starts with a close look at the whole wall. A good survey answers a few questions.
- What is the brick, and how soft is it?
- Is the mortar lime or cement, and how much has failed?
- Are there coatings such as paint, render or pebble dash?
- Where is water getting in?
- Are there cracks, and do they need an engineer to look at them?
The answers set the plan. They also stop surprises halfway through the job.
Step 2: Remove Old Coatings
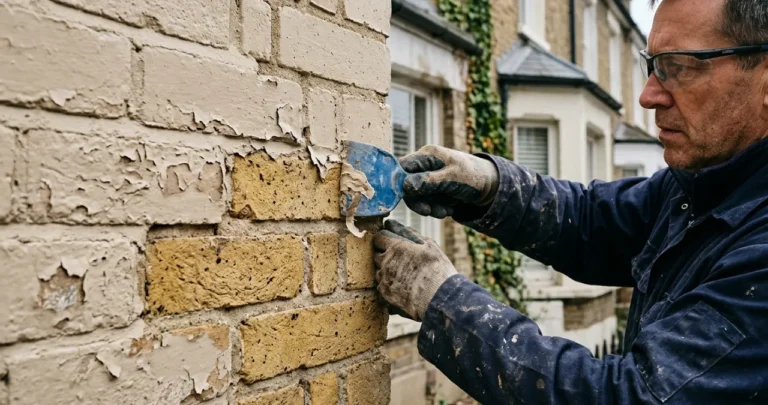
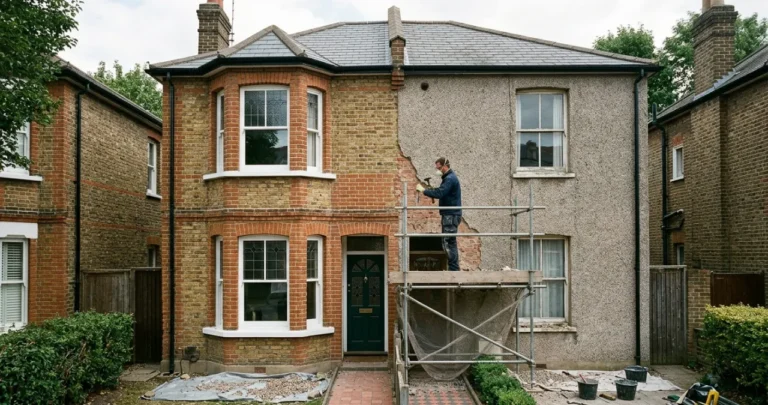
Paint, render and pebble dash come off first, because they hide the brick and trap damp. A remover matched to the coating takes paint off without scarring the brick. Render and pebble dash come off by hand or with light tools. The aim is to leave the brick face behind undamaged.
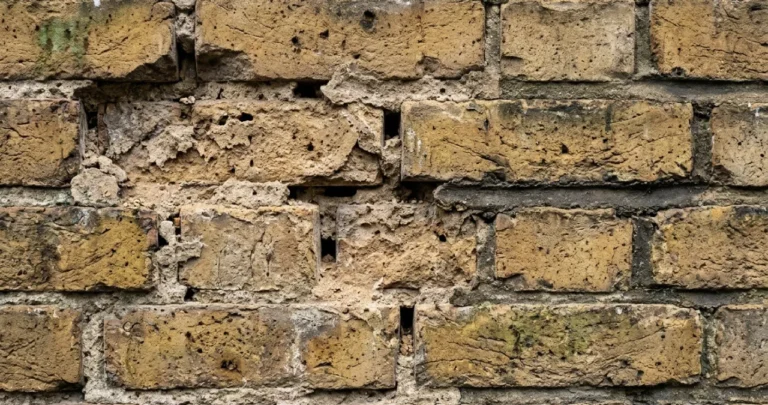
This stage often shows up hidden problems, such as cracked bricks, old patch repairs or failing joints. The plan may change once the wall is bare.
Read more about our paint removal, render removal and pebble dash removal services.
Step 3: Clean the Brickwork
With the coatings gone, the next job is cleaning. The aim is an even colour that brings back the brick without harming its face. Steam, mild cleaning solutions and low-pressure water suit most period brick. Sandblasting and high-pressure jet washing do not, because they strip the face that keeps water out.
Cleaning comes before repointing so it can’t damage fresh mortar. It also shows the true state of every joint. Our guide to brick cleaning methods compares the options in detail.
Step 4: Repair and Replace Damaged Bricks
Next comes the brickwork itself. There are a few ways to deal with damaged bricks.
- Turning bricks. Sometimes a brick with a spalled face can come out and turn round, so its sound back faces outwards.
- Replacing bricks. Where a brick can’t be saved, a reclaimed or new brick takes its place. It should match in size, colour and texture.
- Crack stitching. Some crack repairs set stainless steel bars into the joints across the crack. Fix the cause of the crack first.
- Rebuilding. Badly damaged sections may need taking down and rebuilding. A loose chimney top or a failed garden wall are common examples.
Matching is the hard part. Reclaimed London stock bricks are often the closest match for a Victorian house.
Step 5: Repoint the Joints
Repointing usually comes last. The bricklayer rakes out the failed mortar to a sound depth and presses new mortar into the joints. The new mortar should match the old in colour, strength and finish.
On most old South London houses, that means a lime mortar. Lime is softer and more breathable than cement. It lets the wall dry out through the joints and gives a little as the house moves. Hard cement mortar does the opposite. It traps water in the brick, and the brick face breaks up around it.
The joint finish matters too. A flush, recessed or weathered joint changes how the whole wall looks. Matching the original style keeps the house looking right. Our guide to signs your brickwork needs repointing explains when joints need work.
Step 6: Leave the Wall to Breathe
Many owners want to seal the wall once the work is done. On old brick, this is rarely needed and can do harm. A clean, well-pointed wall in lime mortar sheds rain and dries out on its own. Coatings can trap moisture and salts behind them.
If the wall is very exposed, get advice before using any water repellent. Only ever choose a breathable product.
Choices That Decide Whether It Lasts
| Choice | The right way | The common mistake |
|---|---|---|
| Cleaning | Gentle method matched to the brick | Sandblasting or high-pressure jet washing |
| Mortar | Lime mortar matched to the original | Hard cement mortar on soft brick |
| Damaged bricks | Turn or replace like for like | Patching with mismatched new brick |
| Order of work | Coatings off, clean, repair, then repoint | Repointing first, then cleaning over it |
| Finishing | Leave the wall to breathe | Sealing or painting the wall again |
Listed Buildings and Conservation Areas
Parts of Clapham, Dulwich, Kennington and Camberwell sit in conservation areas, and some houses are listed. Work that changes how a listed building looks, such as removing paint or render, usually needs listed building consent. Some conservation areas also have extra controls. Check with your local council before the work starts.
How We Restore Brickwork in South London
At Brick Cleaning South London, we clean, strip, repair and repoint brickwork on period houses. We start with the gentlest method that will work, and we never sandblast or jet wash brick at high pressure. We match bricks and mortar to the original as closely as we can. If the work shows up a problem that needs an engineer, we tell you before going further.
Find out more about our brickwork repair and restoration service, our brick cleaning service, or our pointing and repointing service.